
Blog
Best Hydroponic System for Beginners
The best hydroponic system for beginners is about managing data. While systems like Deep Water Culture are simple and effective, success depends on monitoring key


The Atlas Scientific line of EZO Complete circuits makes building a custom monitoring system easy, but if you don’t calibrate your sensors, then what good are your readings; And can you trust them?
The accuracy of your readings is directly related to the quality of your calibration.
Calibration is not difficult, and a little bit of care goes a long way.
In this tutorial we’ll quickly go over how to properly calibrate the EZO-Complete pH, using the 100% free Atlas Desktop software. (Click here to download now)
You will need the following:

To connect the EZO Complete-pH to your PC you’re going to need to use a Micro USB cable. Connect this now and run the Atlas Desktop Monitoring software.
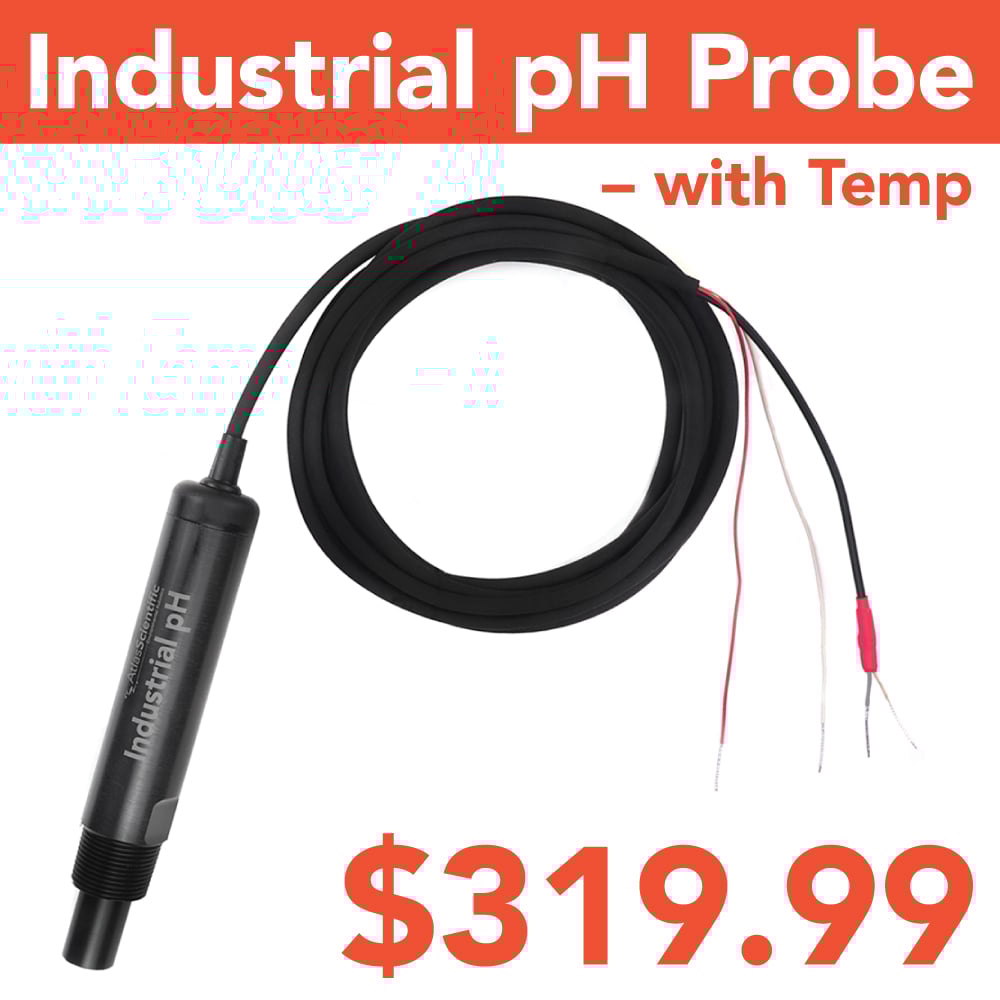
Next, connect your pH probe to the EZO Complete-pH via the SMA connector; and remove the soaker bottle from the probe.
Now that’s out of the way, open the three calibration solution pouches (4.00, 7.00 & 10.00).
To make the calibration process a bit easier Atlas Scientific recommends pouring the calibration solutions out into smaller cups.
It’s also a good idea to have a 4th cup filled with water, which we’ll use to rinse off the probe in between calibration solutions.
Looking at the Atlas Desktop Monitoring software, you should see that a red rectangle is on the screen indicating that a pH circuit is connected, click on this red rectangle, to go to the pH screen.

You are now in the pH reading screen, from here click on the gears icon located on the bottom left corner of the screen. This will take you to the pH calibration screen.

Within this page you can set each calibration point (High, Mid & Low) to any value you wish, should your calibration solutions have a different value then the standard 4.00, 7.00 & 10.00;
However, for this example we’ll be using standard calibration values. You can also clear the calibration from the memory, in case you make a mistake or have recently attached a new probe to your EZO Complete-pH.
When calibrating the EZO Complete-pH, EZO pH Circuit, Gravity Analog pH Sensor / Meter, pH OEM™ Circuit or the Industrial pH Transmitter the first calibration point must be the Mid point (pH 7.00.)

To help ensure that the Mid point (7.00) is the 1st step in calibration, both the Low (4.00) and High (10.00) points have been greyed out until you calibrate the Mid point.
Begin the calibration process by placing your pH probe into the 7.00 calibration solution; Wait a minute or two for the pH readings to stabilize on the screen.

Once the readings have stabilized click the “Cal. Mid” button. The EZO Complete-pH has now been calibrated to pH 7.00 (Mid point)

Now that you have successfully calibrated the Mid point, it’s important to rinse off the probe before placing it into the next calibration solution, mixing the solutions will throw off your readings. Rinse your pH probe off in a cup of water.
Next, let’s move on to the Low point (4.00) Place your pH probe into the 4.00 calibration solution.

Again, wait until the reading stabilizes, and then click on the “Cal. Low” button. The EZO Complete-pH has now been calibrated to pH 4.00 (Mid point)

Just like before, rinsing off the probe is crucial before we move on to the High point (10.00) as you do not want to mix the solutions which could throw off your readings. So go ahead and give your pH probe a good rinse before we move on to the final steps.
Place your pH probe into the High point (10.00) calibration solution.

Like earlier, wait for the reading to stabilize and then click on the “Cal.High” button. The EZO Complete-pH has now been calibrated to pH 10.00 (High point)

Congratulations, you have completed a 3 point calibration and are now ready to take readings.

Now that the calibration process is complete, it’s good practice to rinse off your probe after calibration; And before placing it into your sample solution or back into the soaker bottle as mixing these solutions will throw off your readings.
Atlas Scientific recommends that calibration be done every 1 – 1.5 years.
If you need just a bit more guidance on how to calibrate the Atlas Scientific EZO-Complete pH, you can follow along with the video below.
The best hydroponic system for beginners is about managing data. While systems like Deep Water Culture are simple and effective, success depends on monitoring key

Hydroponic water temperature controls plant health by directly affecting dissolved oxygen levels, nutrient uptake, enzyme activity, and pathogen growth. Scientifically, temperatures between 65–72°F (18–22°C) optimize